How to Maintain a Sub-Zero Refrigerator: A San Diego Owner's Checklist
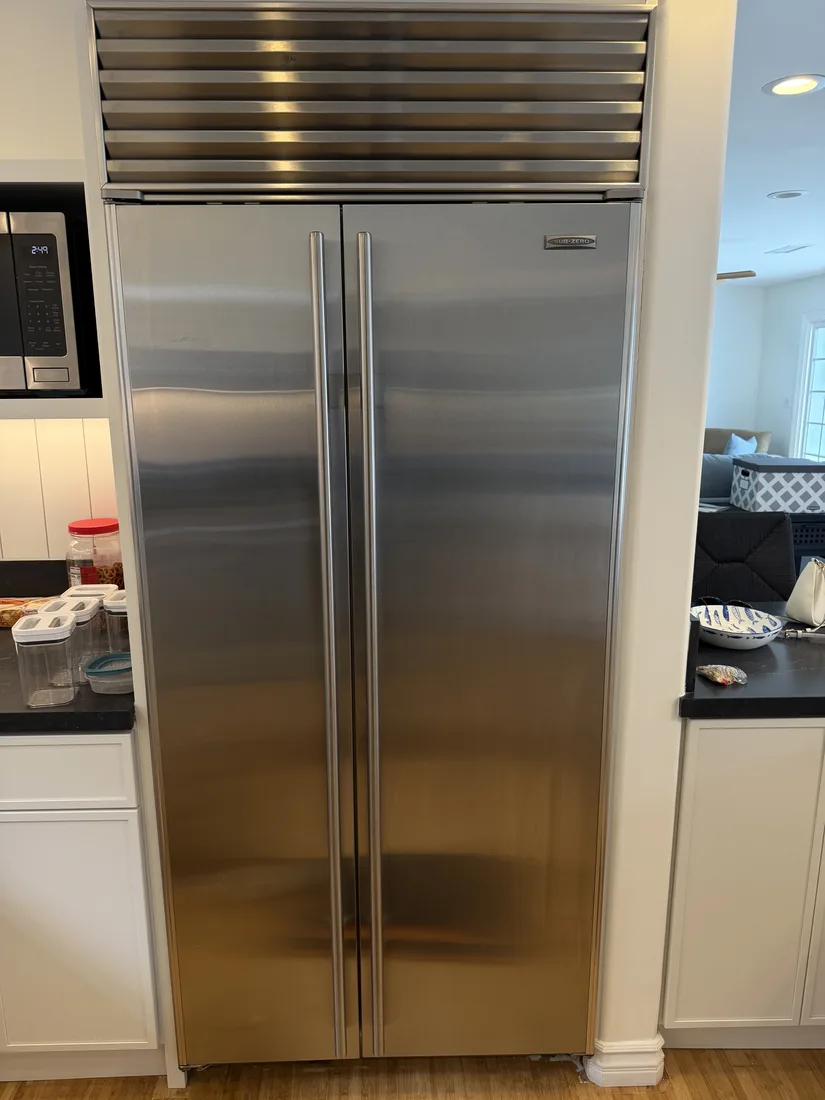
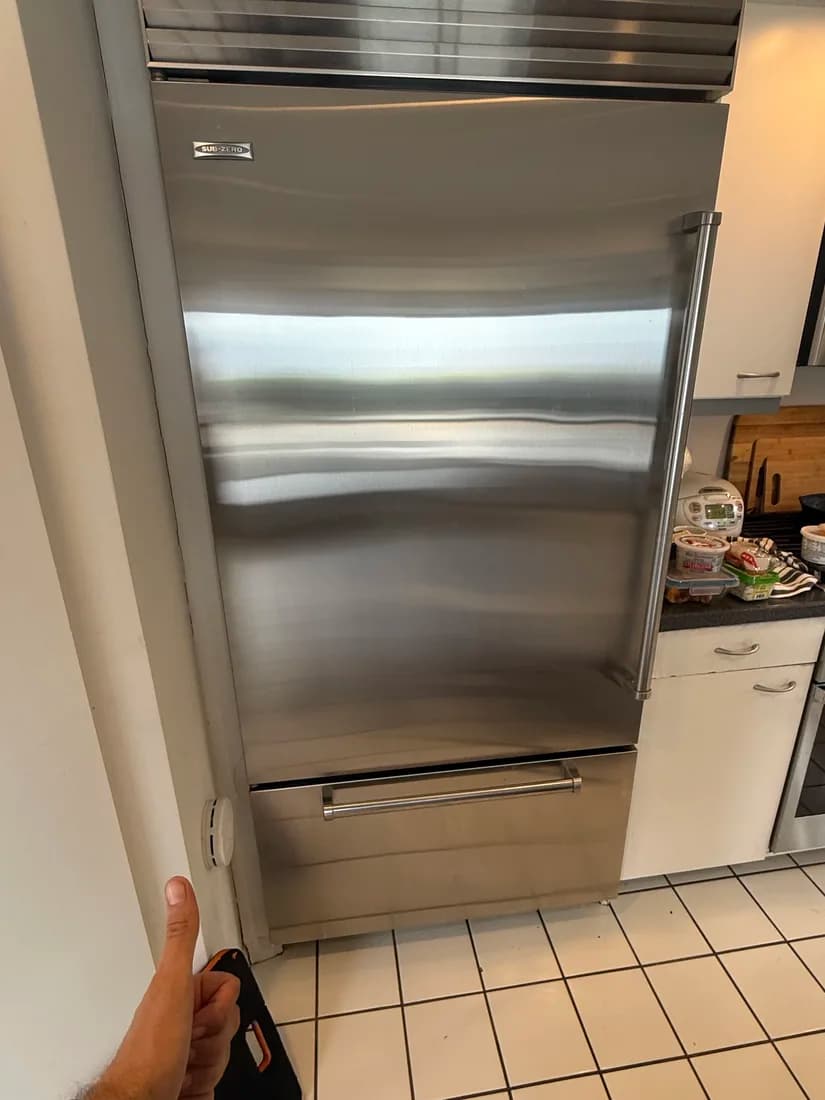
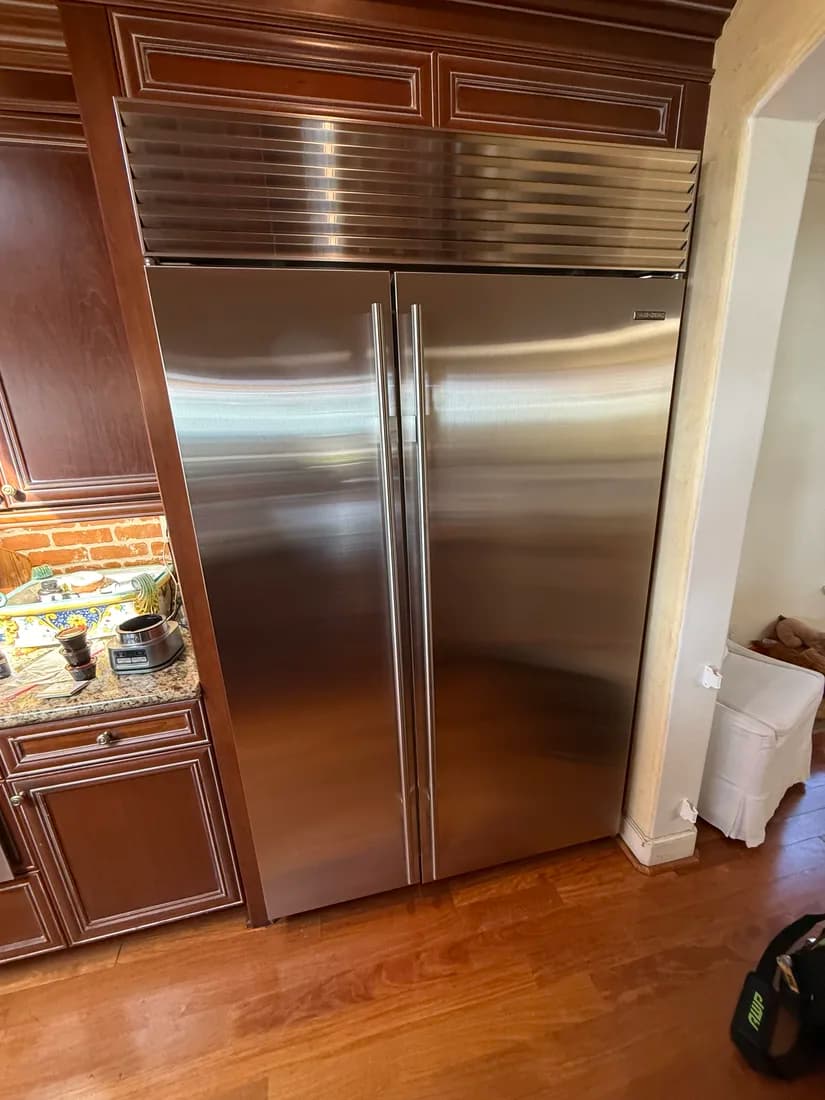
Field shots from seasonal Sub-Zero tune-ups: coil vacuuming, gasket seal checks, and a temperature verification before the truck leaves.
Why Sub-Zero Upkeep Pays for Itself
A Sub-Zero is engineered as a serviceable platform: the sealed system, fans, and controls are all designed to be repaired rather than replaced wholesale. That design only delivers its full twenty-plus-year lifespan when the basics get done — and the basics are genuinely simple. Nothing on this checklist needs special tools or more than half an hour.
Our technicians see the same pattern on calls across San Diego: the units that die early almost always have years of dust matted into the condenser and gaskets that quit sealing long ago. The compressor pays the price for both. Since the compressor sits at the top of the repair-cost ladder on any built-in refrigerator, every hour of prevention protects the most expensive part in the cabinet.
Think of it as cost-per-year math. Twenty minutes with a vacuum twice a year, one cartridge swap every twelve months, and a monthly wipe of the seals — that small routine is the difference between a refrigerator that quietly works into its third decade and one that needs sealed-system surgery around year twelve.
The Coastal Factor: Salt Air and Marine Humidity
San Diego's coastal strip adds a maintenance variable most national guides skip entirely. In La Jolla and Del Mar, marine air carries salt that settles on the condenser fins and slowly corrodes them. Corroded fins shed heat poorly, so the compressor runs longer cycles to do the same job — the same effect as dust, except it doesn't vacuum off.
Humidity from the marine layer matters too. Damp air condenses inside the cabinet every time the door opens, which means more frost load on the freezer side and more work for the defrost system. Homes within a mile or so of the water benefit from a tighter routine: inspect the condenser every six months instead of twelve, and wipe the fins dry if you spot any white, chalky residue starting to form.
Inland neighborhoods like Mira Mesa see less salt but more dust, especially in houses near canyon rims or with pets. Either way, the condenser is where San Diego conditions show up first.
Condenser Cleaning: The One Task That Matters Most
The condenser rejects the heat your refrigerator pulls out of the food compartments. When lint and pet hair mat over it, that heat has nowhere to go: running temperatures climb, energy use climbs, and the compressor operates hotter than its design intends.
Interval: once or twice a year. Go with the six-month schedule if you keep pets, live near the coast, or notice the unit running more than it used to.
On most built-in Sub-Zero models the condenser sits at the top of the unit behind the louvered grille panel — a different layout from freestanding refrigerators, where it usually hides underneath. Pull the grille and you are looking straight at it.
Here is the routine our techs follow on maintenance visits:
If the fins are bent flat or visibly corroded, stop there and have a technician comb and assess them — fin damage chokes airflow just like dust does.
- Cut power at the breaker or unplug the unit before touching anything
- Open or remove the top grille panel to expose the condenser
- Shine a flashlight through the fins to gauge how much buildup you're dealing with
- Loosen debris with a soft-bristle appliance brush, working along the fins rather than across them
- Vacuum everything loose using a crevice or brush attachment
- Confirm the condenser fan spins freely while you're in there
- Refit the grille and restore power
Door Gaskets: The Cheapest Insurance on the Unit
Every degree of cooling your Sub-Zero produces has to stay inside the box, and the gaskets are what keep it there. Rubber that has hardened, torn, or pulled away from the door lets warm, humid air leak in around the clock.
The symptoms creep up slowly: frost ridges in the freezer, condensation near the door frame, an electric bill that drifts upward, and a compressor that barely rests. By the time food starts spoiling, the seal has usually been leaking for months.
The monthly habit:
Twice a year, test the seal itself:
- Wipe the full perimeter of each gasket with warm, soapy water
- Get into the folds — crumbs lodge there and hold the door slightly ajar
- Towel dry, then look the rubber over for cracks or flattened spots
- Skip solvents and bleach; they harden the rubber prematurely
- Shut a strip of paper in the door so half sticks out
- A healthy gasket grips it; if it slips free with no resistance, that spot leaks
- Work around all four edges of each door — corners give out first
- A slipping gasket means it's time to book a replacement, one of the quickest and least costly Sub-Zero repairs there is
Cartridges and Filters: Air Purification and Water
Sub-Zero's air purification cartridge does more than control odors — it scrubs ethylene, the ripening gas produce gives off, which is part of why food lasts longer in these units. The cartridge exhausts itself with use, so it lives on a calendar: swap it once a year. Most models flash an indicator when it's due.
The swap takes about a minute:
If your unit dispenses water or makes ice, the water filter runs on its own schedule — plan on a fresh one every six to twelve months depending on usage. A clogged filter slows ice production and can strain the inlet valve. Cartridge part numbers differ across model lines, so check the manual, or call us at (858) 788-1552 and we'll confirm the correct OEM part before you order.
- Find the cartridge housing — typically in the upper area of the fresh-food section
- Twist or pull the spent cartridge out of its socket
- Seat the fresh one until it locks in place
- Reset the indicator if your model has one
Verify Your Temperatures — Don't Assume Them
Target numbers are 38°F in the refrigerator and 0°F in the freezer. The control panel reports what its sensor reads, which is not always what your food experiences — so verify with an independent thermometer now and then.
A reliable method: leave a thermometer in a glass of water on a middle shelf overnight, then read it before opening the door in the morning. The water smooths out brief swings from door openings and gives you a true average.
If the reading is off by more than a couple of degrees:
- Start with the condenser — a dirty coil is behind most warm-running complaints
- Make sure stacked food isn't blocking the interior air vents
- Give the unit a full day after any adjustment before re-testing
- Still drifting? That points to a sensor, fan, or control fault worth a diagnostic visit
Which Sub-Zero Models This Checklist Fits
These steps apply across essentially the whole built-in and integrated lineup of the past two decades. A few model-specific notes from the field:
One feature worth knowing: most full-size Sub-Zero built-ins use dual refrigeration — separate sealed circuits for the refrigerator and freezer compartments. It's excellent engineering for food preservation, but it also means there can be two systems' worth of hardware depending on that one condenser area staying clean.
- BI-series built-ins (BI-36, BI-42, BI-48 and siblings): top-mounted condenser behind the upper grille — the configuration we service most often in San Diego
- Pro 48 platform: twin compressors, which doubles the stakes on coil care
- 700-series and integrated IC/IW columns: panel-ready units hidden in cabinetry; condenser access points vary, so confirm yours in the manual before opening anything
- Undercounter and wine units (UC line): compact condensers clog faster, so lean toward the six-month cleaning interval
- Older 500/600-series units: the same fundamentals apply, though gaskets and fan motors on these veterans deserve a closer look
What to Hand Off to a Technician
Coils, gasket wipe-downs, cartridges, and temperature checks are squarely DIY. Anything involving refrigerant, electronics, or disassembly beyond the grille belongs with a pro — and some symptoms are the unit telling you it needs one now:
Our refrigerator techs handle Sub-Zero maintenance and repair across Mira Mesa, La Jolla, Del Mar, and the surrounding San Diego neighborhoods. A visit starts with an $80 diagnostic that's credited toward the repair if you proceed, every job carries a 90-day parts-and-labor guarantee, and we've been serving local kitchens since 2019. For homes near the coast, an annual professional once-over — coil service, seal inspection, drain check — is cheap insurance for a built-in of this caliber.
- Clicking, buzzing, or a compressor that starts and stops every few minutes
- A compartment that creeps warm even after a fresh coil cleaning
- Ice sheets or heavy frost forming on interior walls
- Water collecting under or inside the unit
- A vacuum-condenser alert or error code that returns soon after you've cleaned the coils
The Whole Routine on One Calendar
Here is the full routine condensed into a schedule you can pin inside a cabinet door:
The same discipline carries over to the other built-in refrigeration brands we work on. Thermador and Viking columns want the same coil attention; Miele integrated units show comparable gasket wear as they age; many Bosch models are more forgiving thanks to self-managing evaporator designs. Brand-by-brand details live on our refrigerator repair page.
- Every month: wipe gaskets, listen for new noises, glance at the temperature display
- Every 6 months: vacuum the condenser (yearly is acceptable inland with no pets), run the paper seal test
- Every 12 months: replace the air purification cartridge
- Every 6-12 months: replace the water filter on units with ice or water service
- Once a year for coastal homes: professional tune-up covering coils, seals, fans, and drains
Owner's Quick Reference
- Condenser: the highest-leverage chore — twice a year near the coast or with pets
- Gaskets: monthly wipe, paper test every six months, replace at the first sign of slipping
- Air cartridge: annual swap keeps produce fresher and odors down
- Set points: 38°F fridge / 0°F freezer, verified with your own thermometer
- Pro visit: yearly for coastal built-ins; the $80 diagnostic applies to any repair
- Coverage: 90-day guarantee on parts and labor, serving San Diego since 2019
Sub-Zero Care: The Short Version
- Condenser coils: Vacuum every 6 mo coastal/pets, 12 mo inland
- Door gaskets: Wipe monthly; paper test twice a year
- Air cartridge: Fresh one every 12 months
- Water filter: Every 6-12 months if plumbed
- Target temps: 38°F fridge, 0°F freezer
- Pro tune-up: Yearly for coastal built-ins
Related Reading
Cleaning routines are where most appliance lifespan is won or lost. These guides and service pages continue the theme:
Maintenance keeps a healthy Sub-Zero healthy — it won't revive a failing fan, sensor, or sealed system. If yours is running warm, icing up, or making new noises, call (858) 788-1552. Most Sub-Zero repairs across San Diego wrap up same-day, the $80 diagnostic is credited toward the work, and everything we fix is covered for 90 days.
(858) 788-1552